Kirmada Quick Start Guide
Kirmada chunks your workload into clients & projects called Workspaces. Each Workspace is a home for everything you need, organised and completely independent from each other.
Organise your work by client, by project, brand or anything else, and everything you need is instantly at hand.

What is Kirmada?
Have you ever ended up with dozens of browser tabs open for stuff you need to come back to? Do you often have to logout of an online service so that you can log straight back in again using different credentials? Have you ever found it difficult to keep all your online resources together for a client or project?
Have you ever wanted to simply swipe one client off the screen and swipe another on, so that all the resources you need are instantly available and logged in?
That, essentially, is Kirmada.
When you click between clients in Kirmada, all the accounts you need are instantly available and logged in. Any browser tabs you had open are where you left them. If you manage their social media, it’s all built into Kirmada so you can compose and schedule posts, watch conversations and see detailed engagement analysis.
All of this whilst also keeping track of all the time you spend working for each client, warning you if your retainers aren’t profitable or exporting timesheets to your invoicing for accurate and complete billing.
Workspaces – The Heart of Kirmada
Kirmada organises your clients or projects into Workspaces – silos which are completely independent of each other.
The heart of an Workspace is a web browser dedicated to that single client. It has its own tabs, history, password managament and cookies which means you can be logged into the same services, using different credentials, in each of your Workspace. Got several clients who all use Microsoft Teams? No problem, login to all of them, at the same time. All are instantly available.
Social Media Management
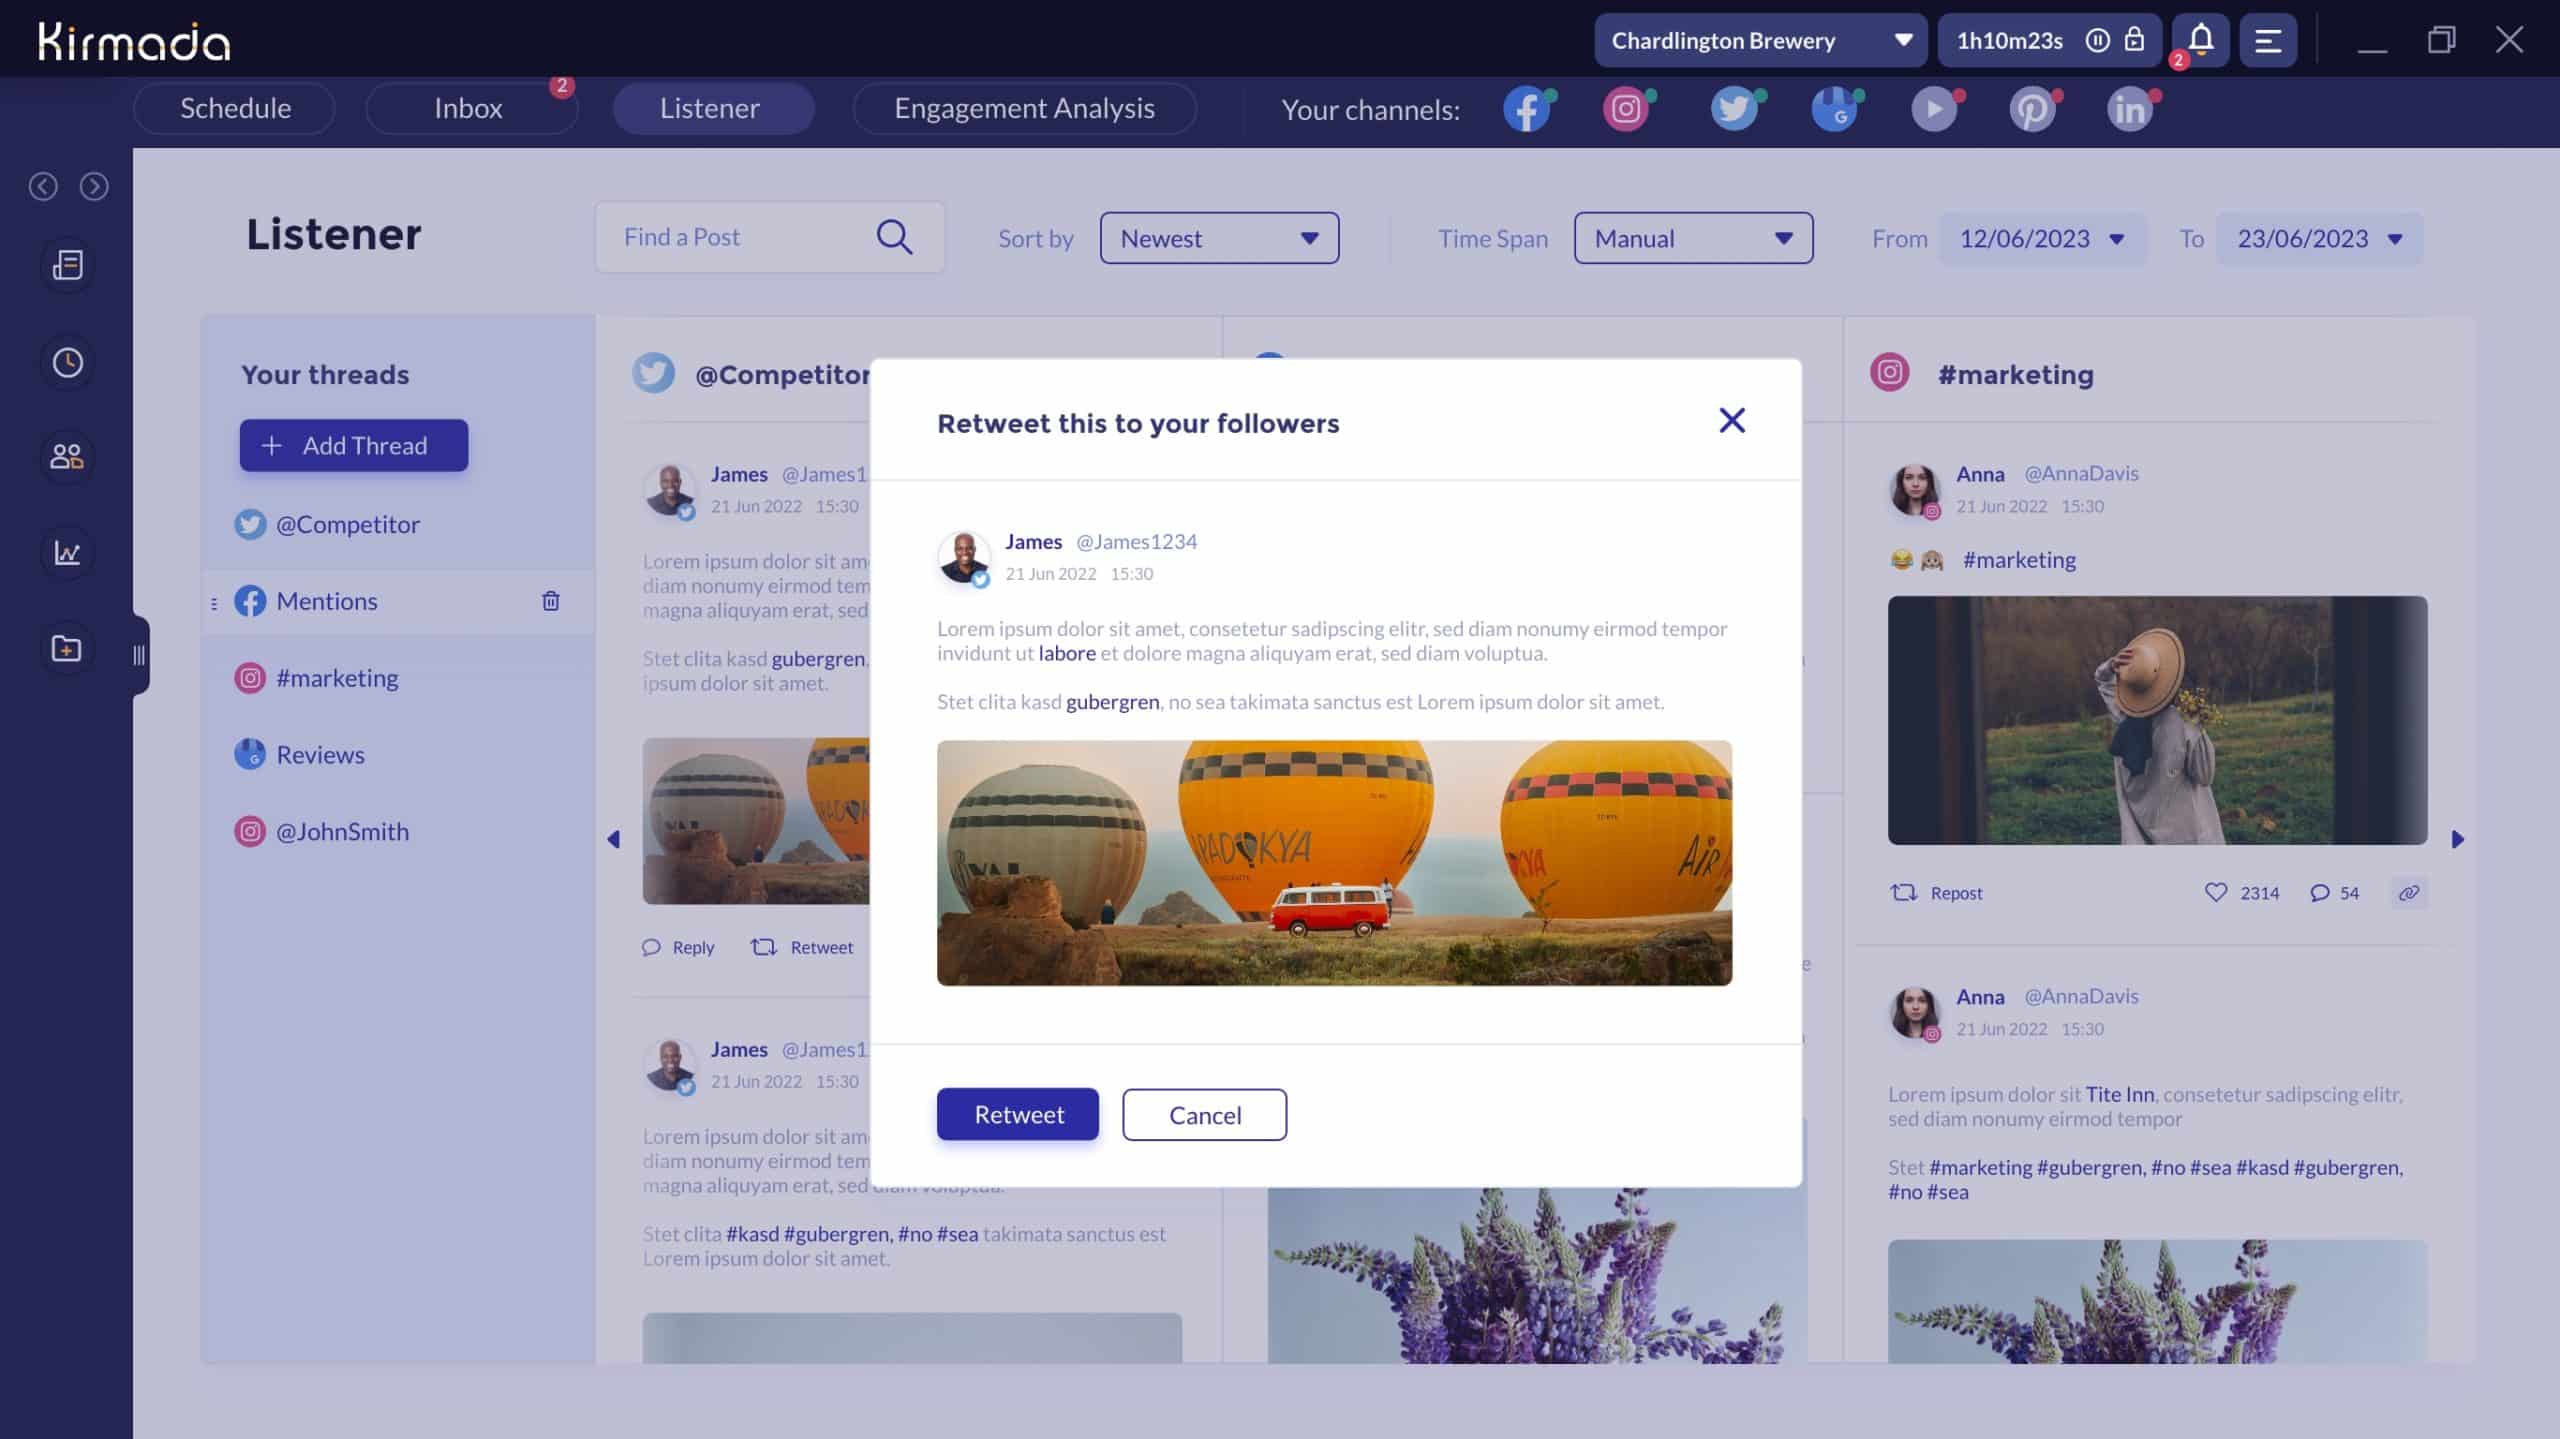
Each Workspace can manage its own social media accounts. You can compose, schedule, edit images, view engagement, monitor conversations and competitors.
Unlike other Social Media Management Tools you may already use, there is no limit on how many accounts you can link into Kirmada.
Timesheets
Keeps tab of exactly how long you spend in each Workspace. You can then use timesheet for billing, or, if you charge by retainer, see its P&L in real time. Add notes as you work to keep track of what you were doing and when.
Teams
Share your Workspaces with colleagues and they become a Team.
Collaborate on any work, social media campaigns and attach tasks and notes directly into the social media calendar.

Image Editor
An image editor is built into the Social Media Post Creator, letting you quickly perform basic editing and cropping. It’s “platform aware” so will automatically crop images to the right format for each platform you post to
Cloud Storage
Each account comes with 10Gb (expandable) of cloud storage so you can keep all the assets you need for a client inside its Workspace . If the Workspace is a Team, you can easily share those files with your team so everyone has instant access to your client’s library
The Home Screen
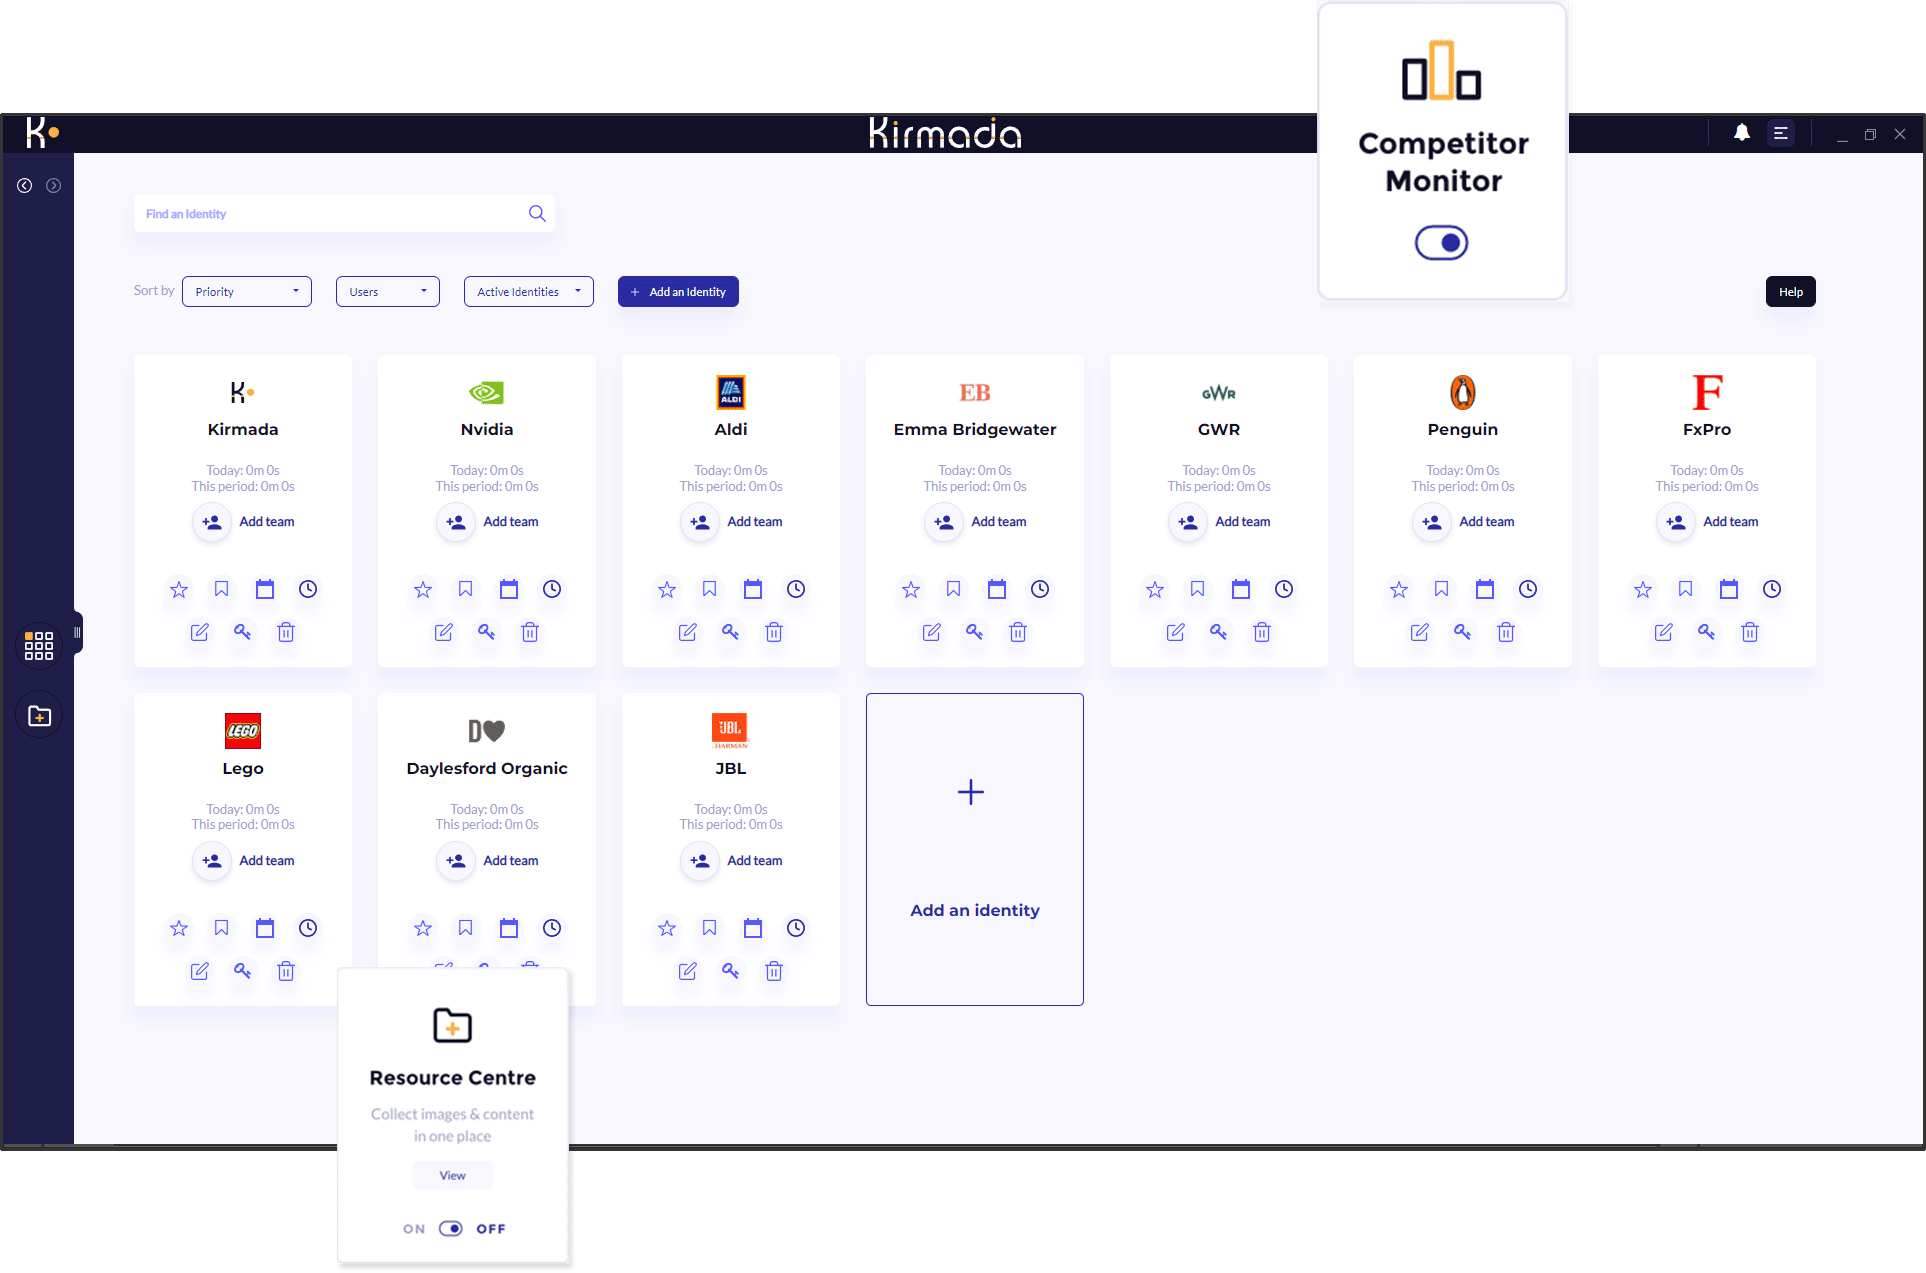
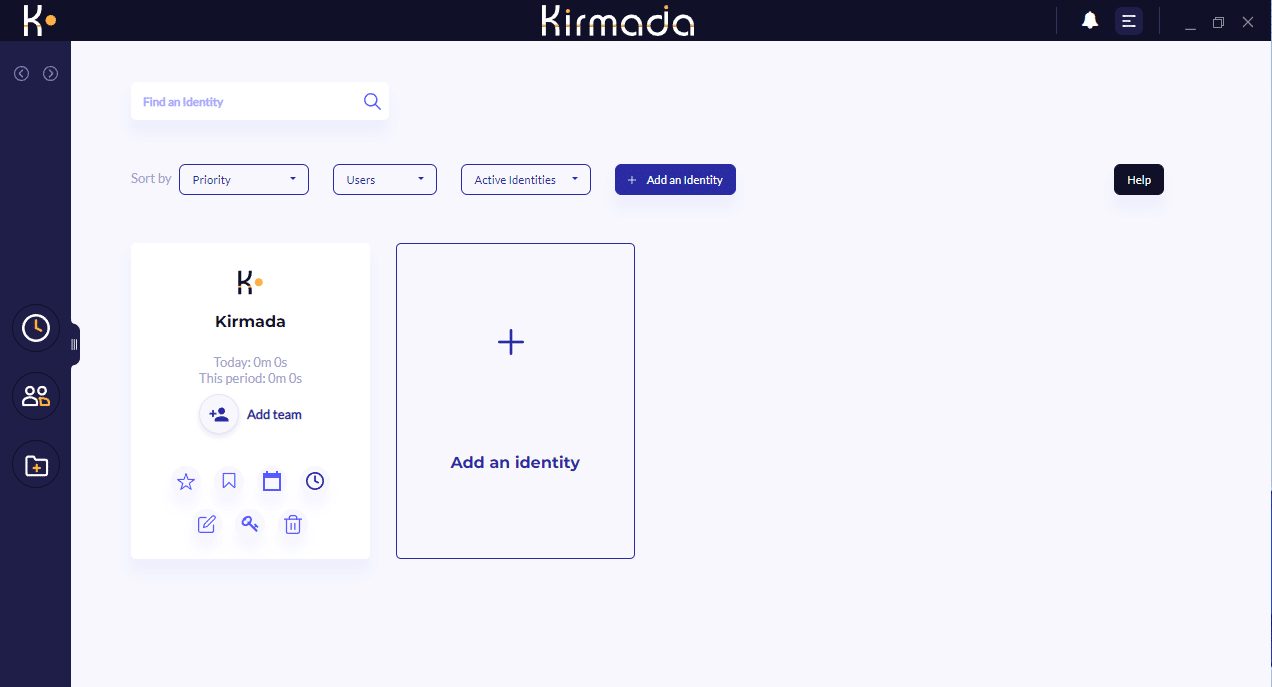
The Home Screen is the hub from where you access and create Workspaces.
You can also manage Teams, link social media accounts, and export your timesheets, using the icons shown on each Workspace.
The navigation bar on the left of the screen (Left NavBar) is a context specific menu allowing to you to access various sub-apps of Kirmada as well as the most important websites associated with your Workspace.
The Workspaces are shown in the Homepage screen area. Each Workspace you create will be shown here and it’s from here that you can either enter the Workspace by clicking on it, or turn it into a Team by inviting other people to share it, or use one of the applications attached to it (icons shown at the botton of the Workspace card) to access Social Media, Bookmarks etc.
What each of these icons does is explained below:

Favourite
Mark as high priority. Sorts Workspace to the top of the list
Bookmarks
Manage and organise bookmarks
Schedule
Schedule social media posts and tasks
Timesheets
View / export your timesheets. Set hourly rates and / or retainers
Edit Workspace
Edit name, image and social media accounts associated with the Workspace
Passwords
View and remove which sites the Workspace is storing passwords for
Workspaces
Workspaces are the heart of Kirmada.
Workspaces create a dedicated browser for a single client, project, brand or purpose. From within it you keep everything you need for that client in one place, organised exactly as you need it.
Each Workspace has its own web browser, keeps its own passwords and history, keeps a dedicated timesheet and can be linked to its own social media accounts.
You can create as many Workspaces as you need. Each one is independent of the others so you can be logged into the same accounts using different credentials simultaneously. For example, if you have several clients who use Dropbox, you can be logged into all of them, at the same time, in different Workspace and swap between them with a click.
Each Workspace can be made into a Team which shares the entire space with others.
Browser Features
Focus Tabs
Choose two or more tabs to focus on by right clicking on the tab and selecting Focus Tab.
Pressing CTRL+TAB will alternate between the focused tabs, ideal when you need to refer to one websites while working in another.
To Unfocus, simply right click the tab and deselect.
Add Note to Timesheet
Right click on the tab and “Add Note to Timesheet” to give yourself a time-stamped reminder of what task you were carrying out in the Timesheet.
The timesheet will be annotated with your note – ideal when billing at month end.
Save to Stickies
Your most important websites can be added to the Left NavBar by right clicking on its tab an selecting “Add to Stickies“. An icon for it will be created.
Stickies are bookmarks which are pivotal for the Workspace. Clicking on its icon will open it in a new tab.
Clear Tab’s Cookie History
You can clear the Cookies belonging to the website you currently have open by right clicking its tab and selecting “Clear Tab’s Cookie History“.
This option doesn’t forget passwords.
Sub Workspaces
Coming soon…
Send to Another Workspace
If you’d like to send a website to a different Workspace, right click on its tab and choose “Send This to Another Workspace“.
A dropdown list of your Workspaces will appear for you to choose from. The website, and it’s login credentials if they exist, will instantly be sent to the other Workspace.
Bookmarks
Bookmark a site either by right-clicking on its tab, clicking on the Star in the URL Bar, or clicking the Three Vertical Dots icon to the right of the URL Bar.
You can organise bookmarks into folder from the Home Screen by clicking the bookmark icon on the Workspace.
Maximising Screen Space
To make your browser full-width, click the grab-handle on the Left Nav Bar to hide / show the toolbar.
You can also press F11 to toggle full-screen mode.
Teams
You can share any Workspace by inviting other users to it. Teams can collaborate with by sharing Stickies, social media schedules, Tasks, Resource Centre and Time Sheets.
To share an Workspace as a Team, navigate to the Home Page and click “Add Team” on the Workspace in the Home Page.
A Team Workspace shares bookmarks, “Sticky” pages, Social Media accounts and Resource Centre items. You can also share browser tabs by right clicking on them and selecting “Share with Team” and that tab will appear in their Workspace.
You can invite someone into your Team by searching for existing users or by inviting via email. If the other user is already a Kirmada user, they will get an alert (the Bell Icon, top right) showing them they’ve been invited and they can either accept or reject the invitation.
Your alerts will tell you the status of the invitation.
If they accept, the Workspace will be added to their homepage.
We are building a full Social Media Management tool into Kirmada, although currently in its very early stages.
Over the coming weeks, the features will be introduced allowing you to:
- Create posts
- Schedule those posts to go out in the future.
- Repeat evergreen posts daily, weekly, monthly or on custom schedule
- Post to multiple platforms simultaneously
- Add posts to a Queue
- Format images for specific platforms

Timers & Timesheets
When you open an Workspace you’ll notice the clock on the top toolbar starts recording. This is the session timer for the Workspace.
It will record all sessions you and your Teams spend working in the Workspace. By clicking on the Timesheet icon, you can examine record entries to get a breakdown of all work carried out in a given time period and export to CSV.
Timer Settings
You can set your hourly rate and / or a monthly retainer value in the Timer Setting screen. Your hourly rate is used to help you calculate various totals, including whether or not you’re spending too much time in working on a client retainer.
The screen will show you graphs to visually describe how profitable (or not) your client retainer is. If your Workspace has a Team attached, it will total the times of all users.
If you choose “Global” as the Timer, you can set agency defaults. So if your agency usually charges £100 per hour, set this as your Global hourly rate and your Workspace will inherit this value until you override it at the Workspace level.
To override the value, simply select an Workspace from the dropdown list on the Timer screen and change the values accordingly.
Timesheets
Clicking on the 3 line icon in one of the Period boxes will bring up the Timesheet of the selected Workspace. Here you can view all the line items in the timesheet and export to CSV.
💡When working in an Workspace, right click on a tab and choose “Add Note to Timesheet”. This will put a note into the timesheet for this session. A description like “John called and asked me to update the presentation” comes in useful at the end of the month when deciding what was billable.
Resource Centre
Every user gets 10Gb of cloud storage (upgradeable) to store images and assets useful for your Workspaces.
When you create an Workspace, a new folder will be created in your Resource Centre named for the Workspace. Files you upload here will be available to attach to social media posts
Teams
Folders belonging to a Team Workspace will be shared with the whole Team. You can restrict access by going into the Resource Centre and clicking on the users under Access, giving each user either “Read Only”, “Full” or “None” as their access privelege.
Control Panel
When in a Workspace, use the Control Panel to select which shortcuts you’d like to see on the Left NavBar.
For example, if you will be using Social Media for this Workspace, you can choose which elements (Schedule, Listener, Inbox etc) to have instantly available.
If your Workspace is a Team, elements you add to the the Left NavBar will be available to all Team members.


Social Media Management