Kirmada records all the time you spend in a Workspace which is why it’s so good at catching your time usage. It will continue recording time even, when Kirmada doesn’t have focus, so you can use other apps and still accrue time in a Workspace.
But sometimes this isn’t what you want it to do and it will record a block of time you don’t want. If that happens, you can manually delete the offending entry from your timesheet.
Locating Your Timesheet
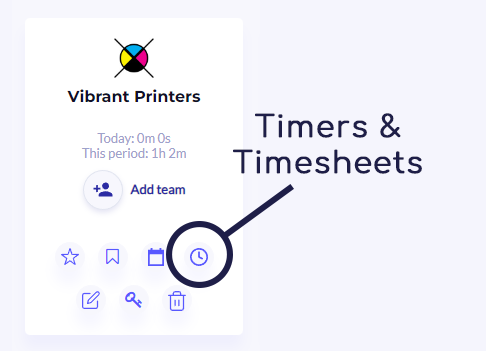
To get to your timesheet, click on the clock icon on your Workspace card.

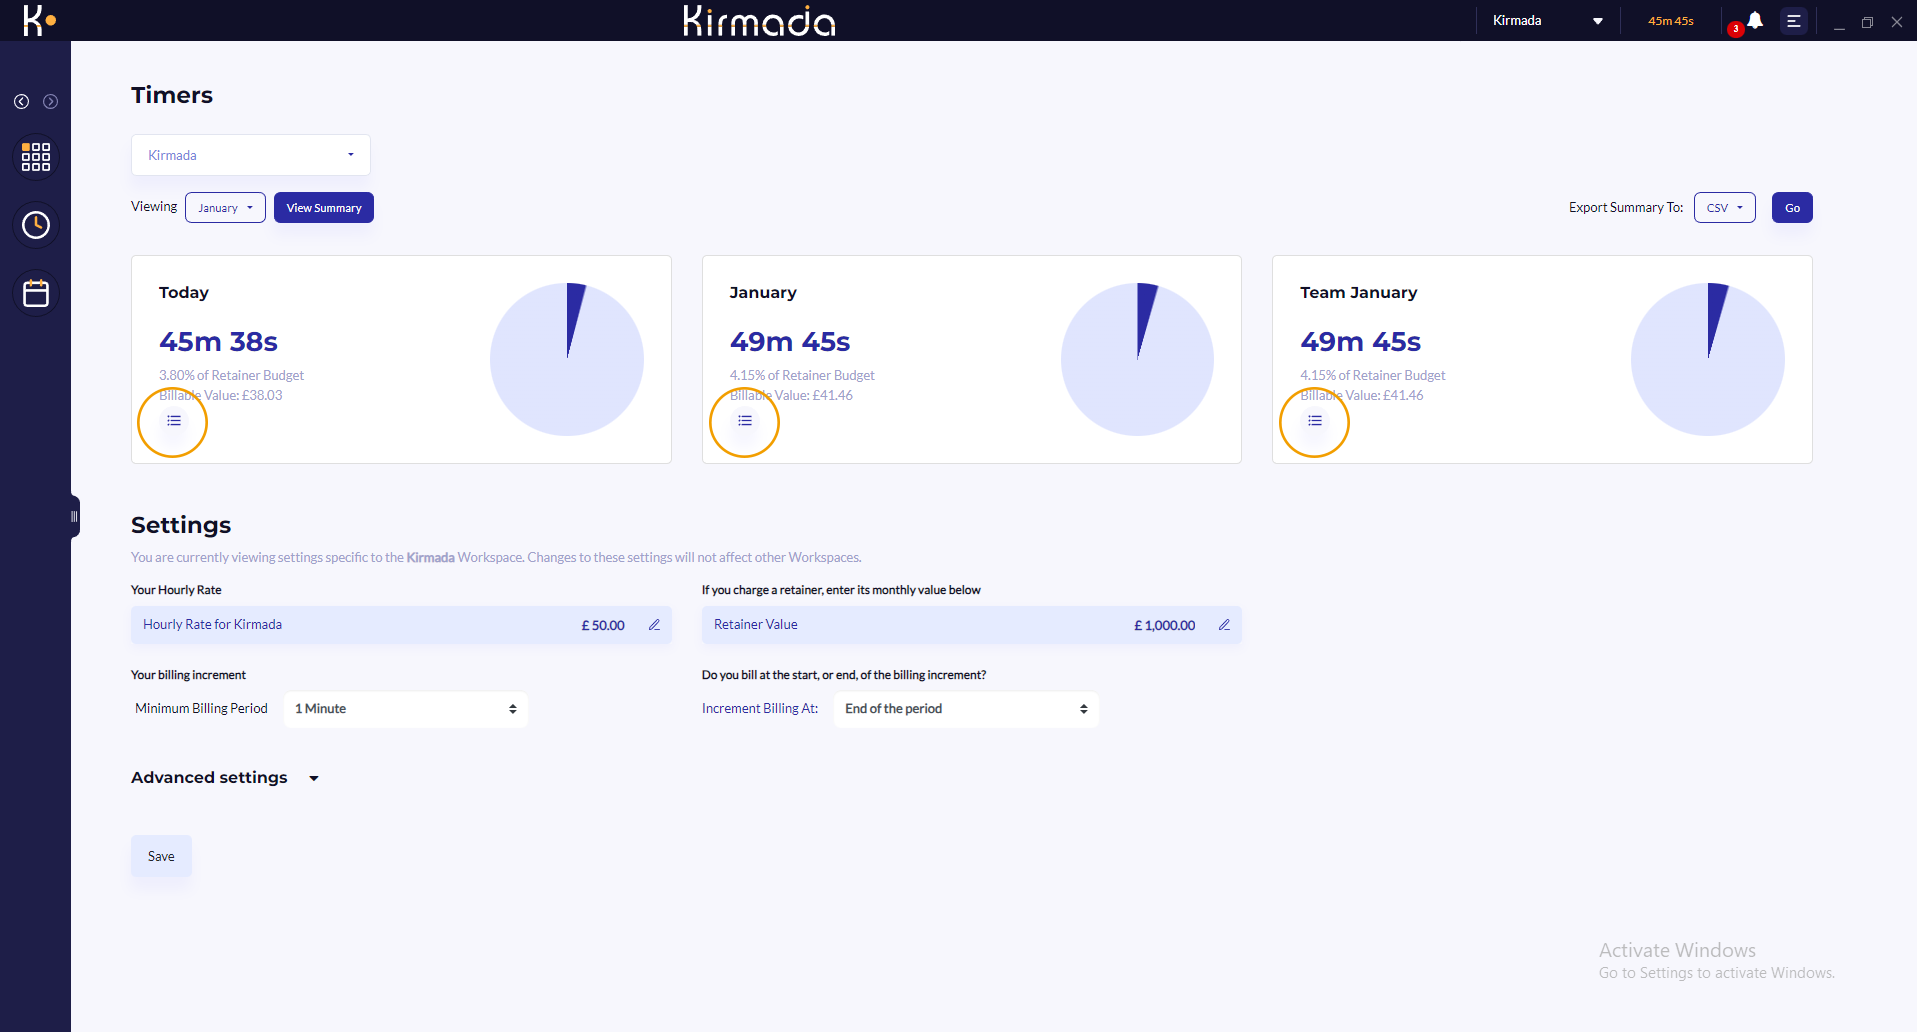
Next, click on one the Activity Log buttons located on the pie charts. The icon is made of three horizontal lines, shown circled below. Click on any of these to open the timesheet.

Modifying Timesheet Entries
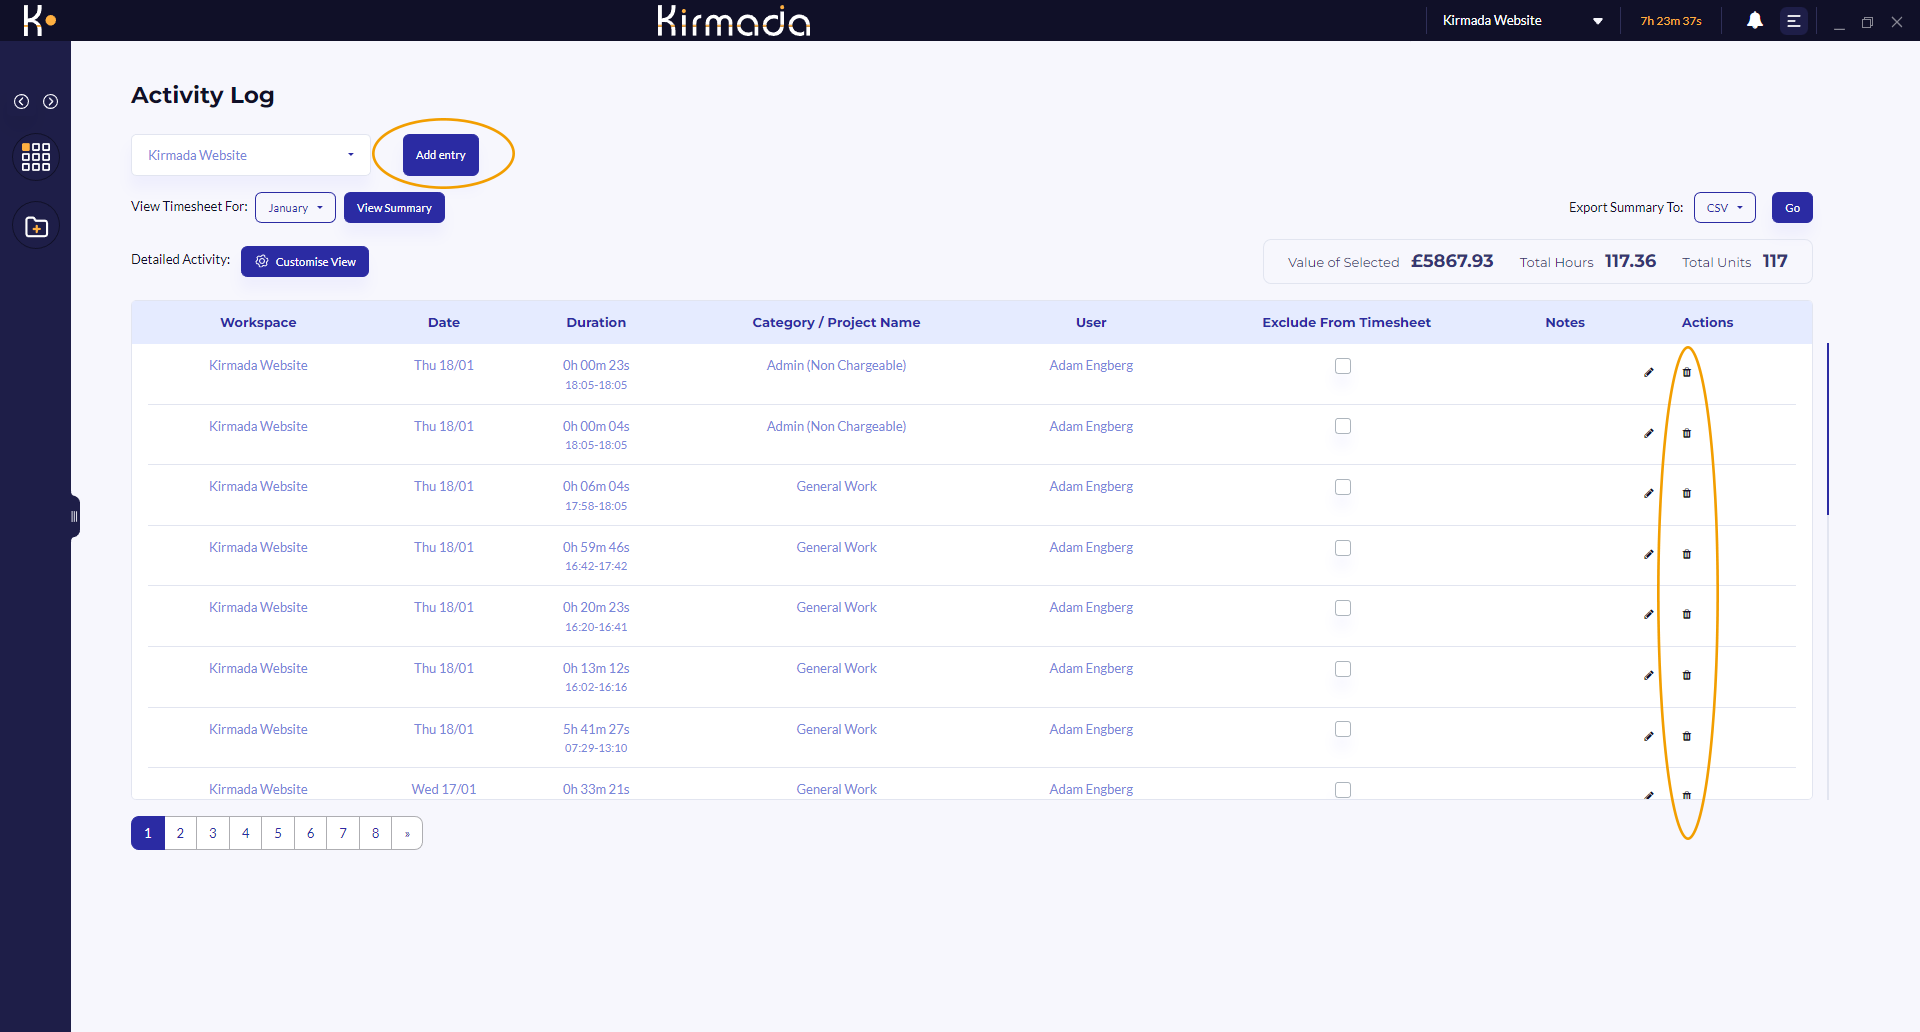
The timesheet screen gives you complete control over your timesheets, in particular you can add or delete entries, and annotate entries with notes.

Adding Entries
Click the Add Entry button at the top left of the screen. This will bring up a dialogue where you can set the date, time and duration of the entry, add notes and assign it a project name or category.
Deleting Entries
Navigate to the offending entry and click the trash can icon on the right. This will permanently delete the entry from the timesheet.
Adding and Editing Notes
If you’ve added notes from the browser (by right clicking on a webpage and selecting “Add Note to Timesheet”, it will appear in the notes column.
You can add a new note or edit an existing one by clicking the pencil icon on the line you wish to annotate.


